

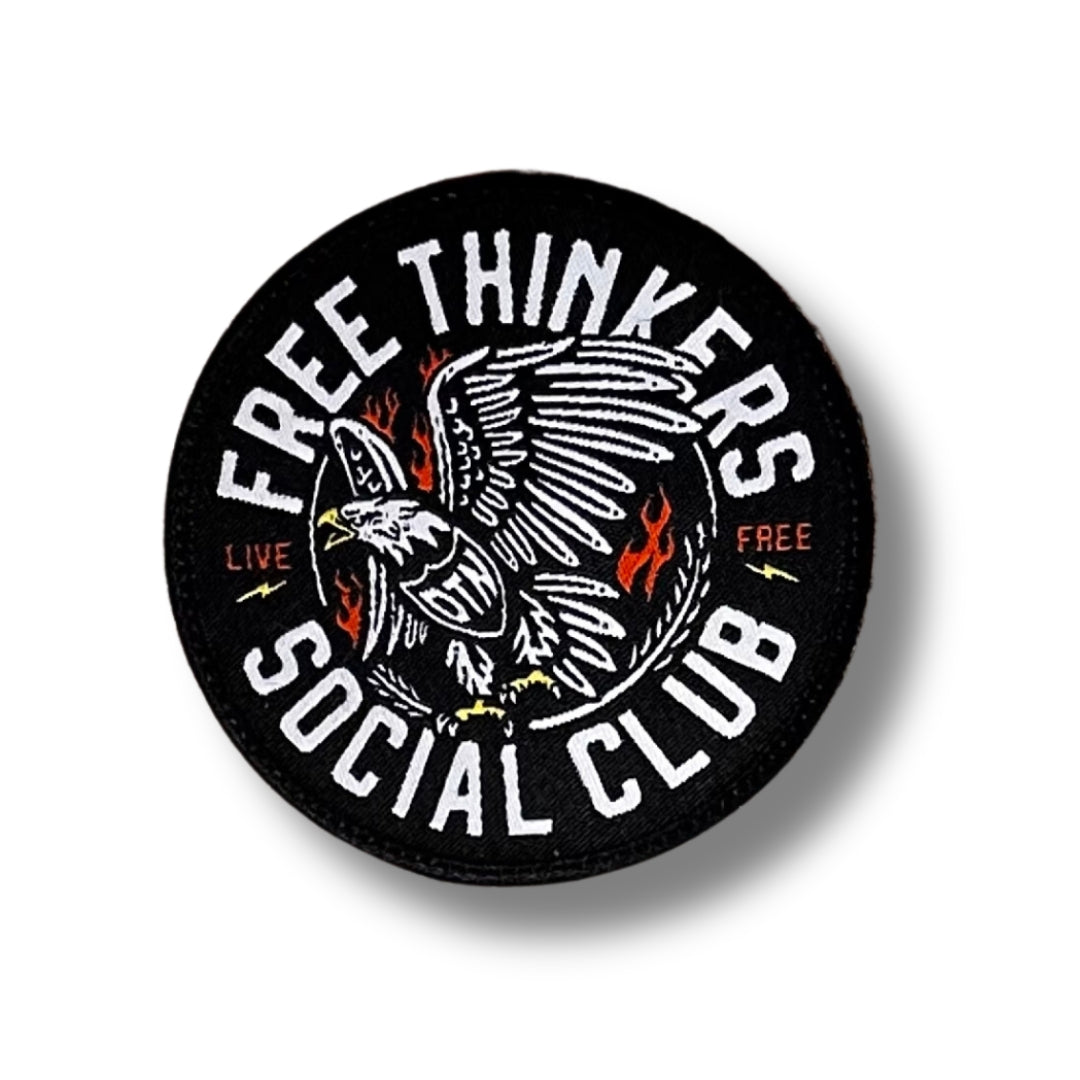
Free Thinkers Social Club Heat Press Patch
3 inch circle patch featuring the Free Thinkers Social Club design as a heat press patch to attach to your favorite gym bag, bookbag, vest, or wherever your heart desires.
IRON-ON PATCH INSTRUCTIONS
- Preheat your iron: Set your iron to a medium to high heat setting.
- Prepare the garment: Ensure that the garment or fabric item you plan to attach the patch to is clean and free from wrinkles. Lay it flat on a hard, sturdy, and heat-resistant surface.
- Position the patch: Place the embroidered iron-on patch face up wherever you'd like.
- Protect the patch: Place a thin cloth or cotton fabric on top of the patch before ironing. This prevents direct contact between the iron and the embroidered surface.
- Apply heat: Place the hot iron on top of the patch, directly over the design. Apply firm, even pressure without moving the iron around. Hold it in place for about 45 seconds.
- Apply heat to the back: Turn garment inside-out and place the hot iron on the back of the patch, directly over the design, for about 30 seconds.
- Check the adhesion: Carefully lift the corner of the patch to see if it adhered to the fabric. If the patch lifts off, place it back down and reapply heat for a few more seconds until it firmly sticks.
- Allow to set: Let the patch and garment to cool down for a few minutes. Avoid touching the patch while it's still warm, as it may not have fully bonded to the fabric yet. It's generally recommended to wait at least 24 hours before washing to ensure maximum durability.
Let customers speak for us

Just received my edc puck and it couldn’t have come at a better time in my life so I wanna give a big shot out to stefanie for making these! ⚡️⚡️⚡️🌊 of all things edc this one has more value to me than most. You guys rock 🤙🏻 Best wishes with the new retreat/ homestead and animal rescue 🙌🏻

You can tell they actually take time and use quality materials to make these. Very happy with my purchase!

Love it!

Love it.

Love it

Great fit. Great quality, great company!
True to fit size tee. Good quality material. Even better message.

Cody is a badass. I'm 1000% on board.

Cody Alford is the man. No Weak Shit. Live By It.

Great design love what Cody stands for!
Great design love what Cody stands for!
If i had to change one thing is would be wider shoulder straps
Love the old school design and shirt is fantastic quality

Great shirt, love the design. Shirt did have a small hole in the shoulder when I got it but that’s the first time I’ve had an issue of all the shirts I’ve bought from DTN.

Quality, bad ass and now flying in the GYM. Stoked, thank you guys!
Shirt fits great and looks hard too! I’ll buy more.